How to Clean a Smoker

An essential part of smoking food is learning how to clean your smoker. In this guide, we’ll cover the tools and equipment you’ll need for regular cleaning and maintenance for gas, pellet, charcoal, and electric smokers.
We’ve also gathered tips and tricks for deep cleaning smokers when things have gotten a bit out of hand.
The information in this guide is based on over twenty plus years of smoking food using a wide variety of smokers. We also spent time researching information from Masterbuilt, Traeger, NexGrill, Weber, and other manufacturers to make sure the information was relevant for a wide range of vertical and off-set smokers.
Why You Should Regularly Clean Your Smoker
There are several reasons why you should regularly clean your smoker. Most importantly, keeping a smoker clean makes it easier to smoke delicious food with a deep, smoky flavor. Regular cleaning helps prevent the buildup of creosote, grease, soot, and other materials that can give food an off-putting flavor.

Regular cleaning and maintenance help keep everything tidy, ensuring the smoker operates better and lasts longer. With the price of smokers going up from basic models costing hundreds of dollars to high-end models with built-in wifi costing thousands of dollars, basic cleaning and maintenance, protects your investment.
Cleaning Materials
The following materials can be used for regular and deep cleaning smokers and grills.
Paper towels – The best paper towels we’ve found are the heavy duty paper towels used by contractors. Since a lot of the clean-up will be grease and soot using paper towels that can be tossed generally works better than rags or clothes.
Plastic Gloves – Disposable plastic gloves are your friend anytime you’re cleaning a smoker, grill, or cooking device with a lot of baked-on grime and soot. The gloves let you clean all the nooks and crannies and not come out covered in grease.
Grill Brush – There are a lot of grill brushes that will do a good job cleaning grill grates. A good rule of thumb is not to use a wire bristle brush on the surfaces where food is cooked. When the brushes start to wear, the steel bristles can break off, stick to the metal, and transfer to food being cooked.
Cleaning Solution – For basic cleaning, use a mild detergent like Dawn. A mixture of equal parts vinegar and water in a spray bottle also works well.
Degreaser – For heavy-duty cleaning, a non-toxic cleaner designed to remove the baked-on crud that comes from cooking low and slow can be helpful.

Putty Knife – A two- to three-inch wide plastic putty knife can be helpful to remove baked on gunk and grease from the sides and bottoms that collect inside smokers. A good choice for putty knives is to pick a reasonably sturdy one with some flex to it from a hardware store. Make sure to mark it as food only, and keep it with the cleaning supplies for your grill and smoker.
Storage Tub – A large storage tub or cooler that can be filled with hot water and soap can be helpful for soaking racks and other components that are hard to clean. This is particularly helpful if grates for your smoker aren’t dishwasher safe or are too big to fit in your dishwasher.
Shop Vacuum & Air Compressor – Two things that are helpful for deep cleaning are a shop vacuum and an air compressor. Shop vacuums are great for sucking out debris from the back corners and hard to reach places. Compressed air is a simple way to clean debris from tight areas like the hopper or feeder in pellet smokers.
Steel Wool and Wire Brush – Wire brushes and steel wool are helpful in removing rust.
Stainless Steel Cleaner – If you like the exterior of your stainless steel smoker to be shiny, use a stainless steel cleaner to restore the smoker’s exterior appearance.
Regular cleaning
Some routine cleaning tasks should be done every time or every few times a smoker is used. These tasks are generally related to the cooking surfaces and smoke producing components.

Leftover wood chips, ash, or charcoal from previous uses should always be removed and disposed of before starting a smoker. Leftover combustibles should be allowed to cool down overnight or stored in a metal or noncombustible container before disposal.
Make sure to check the hopper and chute for any obstructions when cleaning a pellet smoker.
Smoking food low and slow often leaves more bits and pieces on cooking grates than grilling, where higher temperatures burn everything off.
It’s not hard to learn how to clean smoker grates. If they are dishwasher safe and fit in your dishwasher, they should be cleaned at least every couple of times the smoker is used. If they aren’t dishwasher safe, use a stiff grill or steam clean brush to remove leftover food particles.
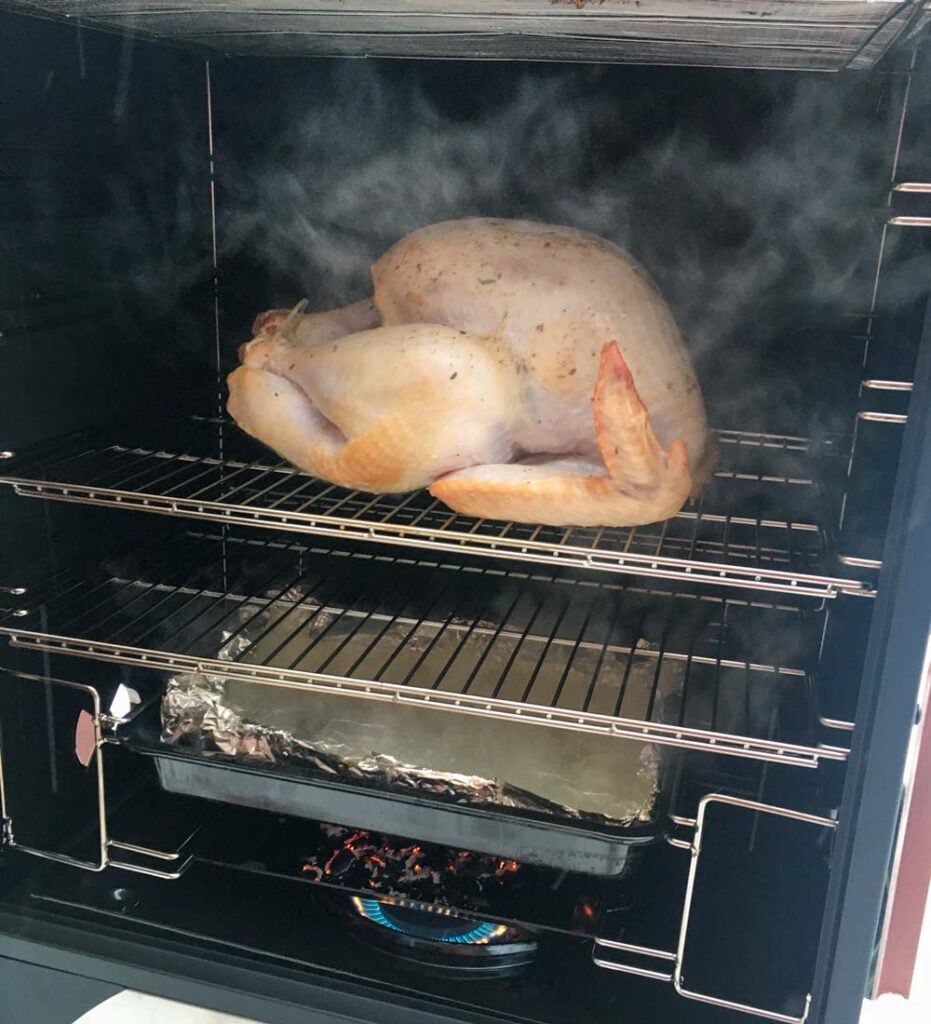
Water pans should always be cleaned before smoking. A tip for keeping water pans clean is to line them with aluminum foil before adding water. This makes it easy to clean the drippings out when you’re done cooking. Grates should not be covered in aluminum foil because it can impede airflow and prevent the smoker from working as intended.
Depending on the manufacturer, drip pan cleaning should happen after each use or every few sessions. The pan should always be checked before ignition and emptied if full.
Regularly cleaning the temperature gauge helps ensure it reads accurately. Most temperature gauges can be cleaned by wiping the probe portion down with a wet paper towel or sponge until clean. Temperature gauges should not be submerged in water.
- A Complete Guide to Smoking Food – Learn why smoking food is so delicious, take a deep dive into different types of smokers, cover a wide variety of smoking techniques, and, most importantly, learn how to season smoked food so it tastes fantastic.
- How to Use the Flip, Fire, and Paint Technique – The secret to delicious barbecue is using the flip, fire, and paint technique to apply BBQ sauce in thin layers using the heat from the grill to sear it on and crisp everything up.
Deep cleaning
How often a smoker needs to be deep cleaned depends on how frequently it’s used. A good rule of thumb is at least once a season or every 100 hours of use.
To deep clean a smoker, remove any grates, pans, or trays designed to be removable. These are always easier to clean by themselves. A tip for cleaning removable pieces that aren’t dishwasher safe is to fill a cooler or storage tub with warm, soapy water and let them soak for 30 to 60 minutes before cleaning.
Once everything has been removed, use a putty knife to loosen any baked-on crud and built-up grease. Use a brush or shop vac to remove any loose debris. This is where compressed air can help loosen up bits that are stuck in corners or the area around the burner or hopper.
The amount of soot and grime will determine whether the smoker can be cleaned with warm water and a mild detergent or if a heavy-duty degreaser will be needed. When choosing a cleaner, always pick one that is non-toxic and made for cleaning cooking devices.
Start at the top and work around the smoker using heavy-duty paper towels or an old scrubby that will be tossed after cleaning. Most of the time, it will take two or three rounds to get the smoker as clean as possible. It’s worth noting that no amount of cleaning will ever make the inside of a smoker look brand new.
Once the inside is clean, move on to the outside, looking for pockets of rust and any stain marks that can be removed. Vents should be checked for rust and to ensure they are still in working order.
One of the best ways to help a smoker last longer is to cover it between uses. This is particularly important if you live in a cold or wet environment with a lot of inclement weather.
Once a smoker has been cleaned inside and out and all of the grates, pans, and trays have been put back in place, it’s a good idea to test it to make sure the burner and any moving parts are working.
- Smoked Beef Roast – Smoking a beef roast is the best way to get the deep smokey flavor we love in smoked roast beef.
- Simple Smoked Chicken Legs – Smoked chicken legs are one of the simplest ways to make tasty, smokey chicken for a crowd.
- Smoked Pork Loin – A smoked pork loin is a versatile dish that can be seasoned in hundreds of different ways, smokes relatively quickly, and looks amazing on the plate.
Seasoning A Smoker
Seasoning a smoker is similar to seasoning a cast iron pan, where oil is heated at a high enough temperature that it transforms into a hardened surface that molecularly bonds with the surfaces in the smoker, smoothing them and repelling water.
All manufacturers recommend seasoning smokers before their first use. This helps to ensure any oil or other substances left over from the manufacturing process have been burned off.
According to Masterbuilt, regular seasoning a smoker can help prevent rust and prolong its life.
Seasoning a smoker is a relatively simple process. Once a smoker has been cleaned and is dried rub a small amount of cooking oil, preferably one with a high burn point such as canola or grapeseed oil.
Use heavy-duty paper towels or a brush to lightly coat the walls, door, cooking grates, and pans with the oil. Let the oil sit for 10 to 15 minutes before turning the smoker on high heat. The length of time needed to season varies by manufacturer from 30 minutes to 3 hours. We generally recommend seasoning the smoker for an hour.
During the seasoning process, you may notice some smoke and an odor. This is normal and will dissipate with time.
Taking the time to clean and maintain your smoker will help it last longer and cook better food.

Mark is an experienced food writer, recipe developer, and photographer who is also Umami’s publisher and CEO. A passionate cook who loves to cook for friends, he can often be found in the kitchen or by the grill testing new recipes.
More Info About Mark Hinds


Leave a Reply